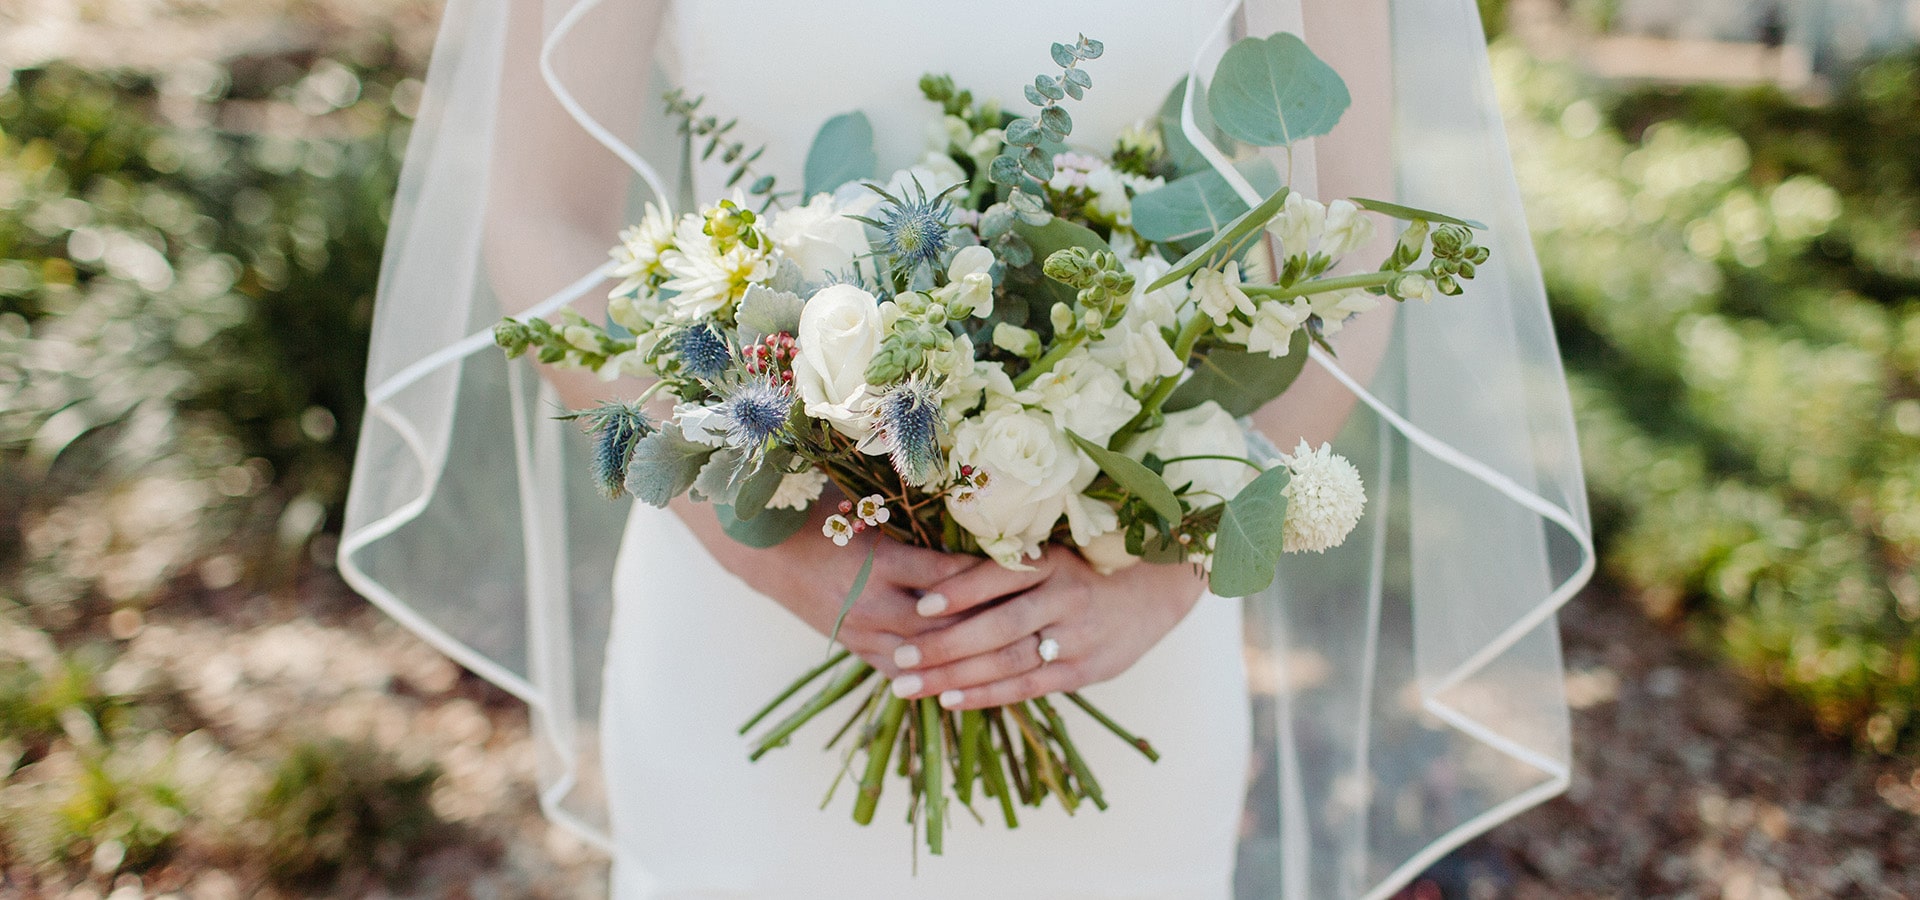
Deciding to make your own wedding bouquet means more than just free reign over creativity – it could result in way less money spent which is great if you’re on a tight budget! If you’re a bride that doesn’t shy away from DIY, creating your own floral bouquet will be right up your alley. Although you can’t replace the talent and keen eye of an experienced florist, creating your own bouquet may not be as complicated as you think – especially if you follow these three simple steps.
Get inspired
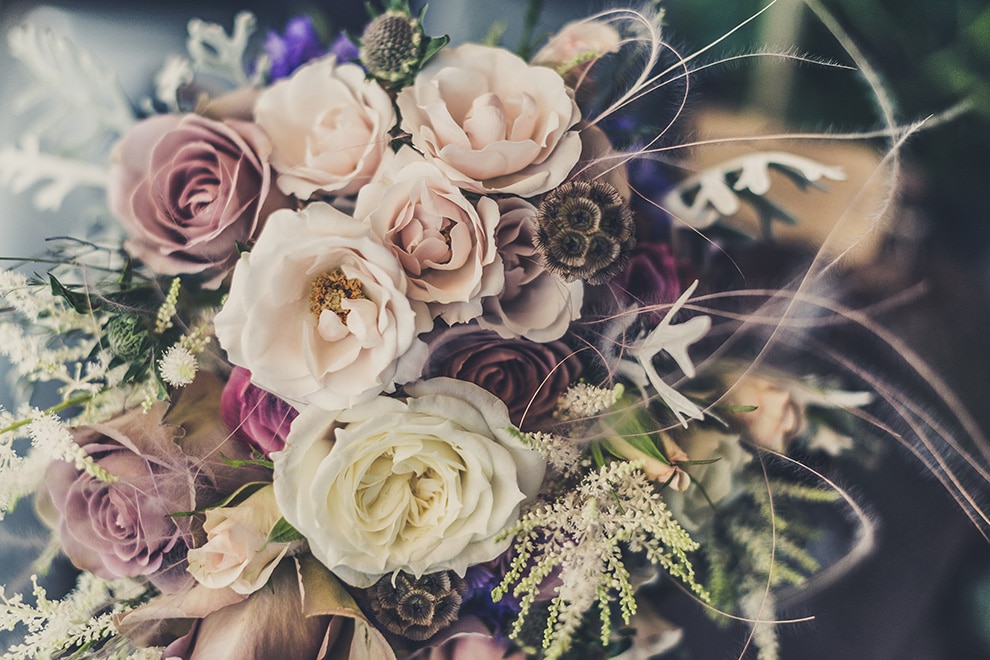
First, you’ll need to pick a theme or a color scheme for your DIY wedding bouquet. This might already be done for you thanks to your wedding theme, or you may have more room to get creative with your bouquet. Jump on social media and get inspiration from colors and things you love so that you feel authentic and comfortable when walking down the aisle.
Some classic color combos include:
- Pastels
- Whites with a pop of color
- Neutrals
Source your supplies
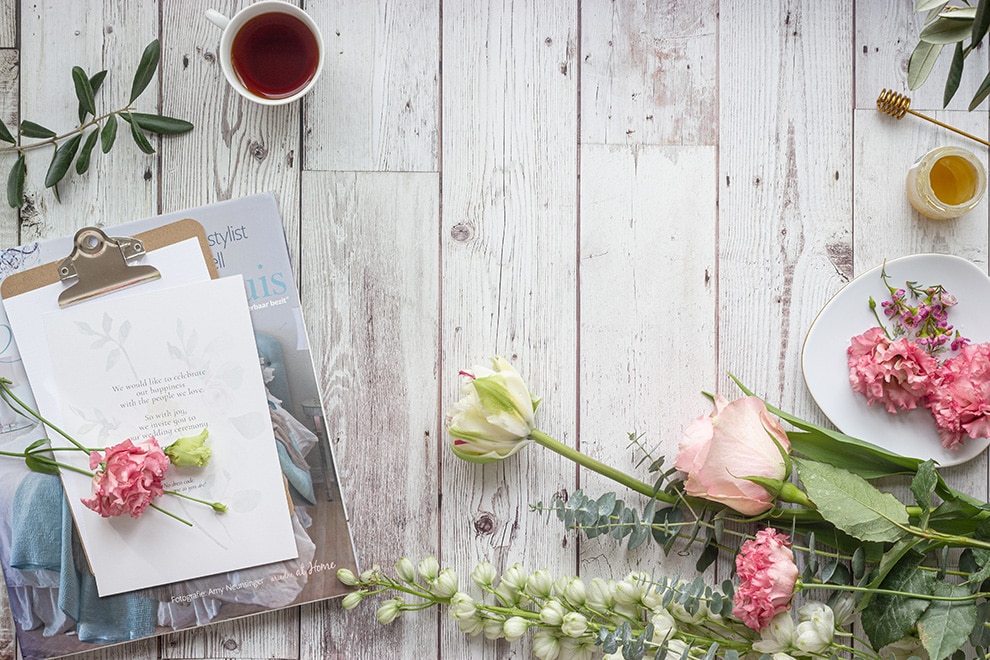
You can start looking for flowers in the following places:
- A flower or farmer’s market
- An online wholesaler
- A grocery store
Figure out what your budget is, what kind of flowers you want, and how many flowers you’ll want for the bouquet. After this, it’s then time to do some research. You can always split your budget and splurge on one or two types of expensive flowers and then fill in the rest with more affordable blooms.
In addition to picking up a couple of different kinds of main flowers to fill your bouquet, don’t forget smaller filler flowers (Baby’s Breath is forever popular), as well as some greenery to fill out and add some contrast to your bouquet.
Apart from flowers, you’ll also need:
- Floral tape
- Flower shears
- Bouquet pins
- Bouquet wrapping (Ribbon or fabric works)
- Water + bucket
Assemble your bouquet
Before you start the bouquet-making process, make sure you hydrate your flowers for 24 hours and then give the stems a fresh cut before assembly! This will make sure they’re nice and supple before putting together your bouquet.
Now comes the fun part!
First, arrange the 4 or 5 main flowers to make a base.
Next, add fillers and greenery. Keep adding focal flowers, fillers, and greens in an even rotation around the base. Continue to build on the bouquet in sections, securing each section with floral tape.
Finally, wrap the stems with an accent ribbon (like twine) to complete the bouquet. Secure the ribbon. This ribbon fastening is an elegant touch that easily hides the floral tape.
Voila, you’re finally all done with your DIY wedding bouquet!
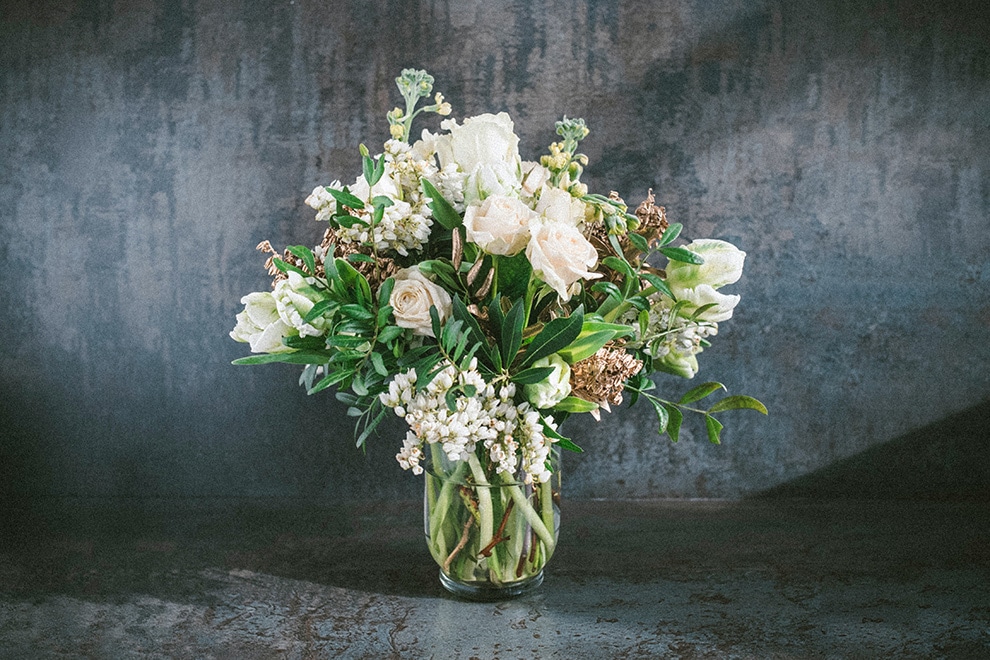
Pro-tip: Keep your bouquet in a vase of fresh water, away from direct sunlight, and in a cool area (we’re thinking a basement or pantry). This will keep your arrangement in tip-top shape for your big day.
Remember, if you decide to create a DIY bouquet, have fun with it! There are no rules when it comes to flowers, so let your personality shine through. Being able to walk down the aisle with something borrowed, something blue, and something handmade is going to make the experience extra special.


Thank you for this wonderful information.